

Build a Portfolio Website With AI (No Coding)
Build a portfolio website with AI using WordPress and Elementor, no coding needed. Step-by-step setup, a ready prompt, safety tips and SEO checklist.

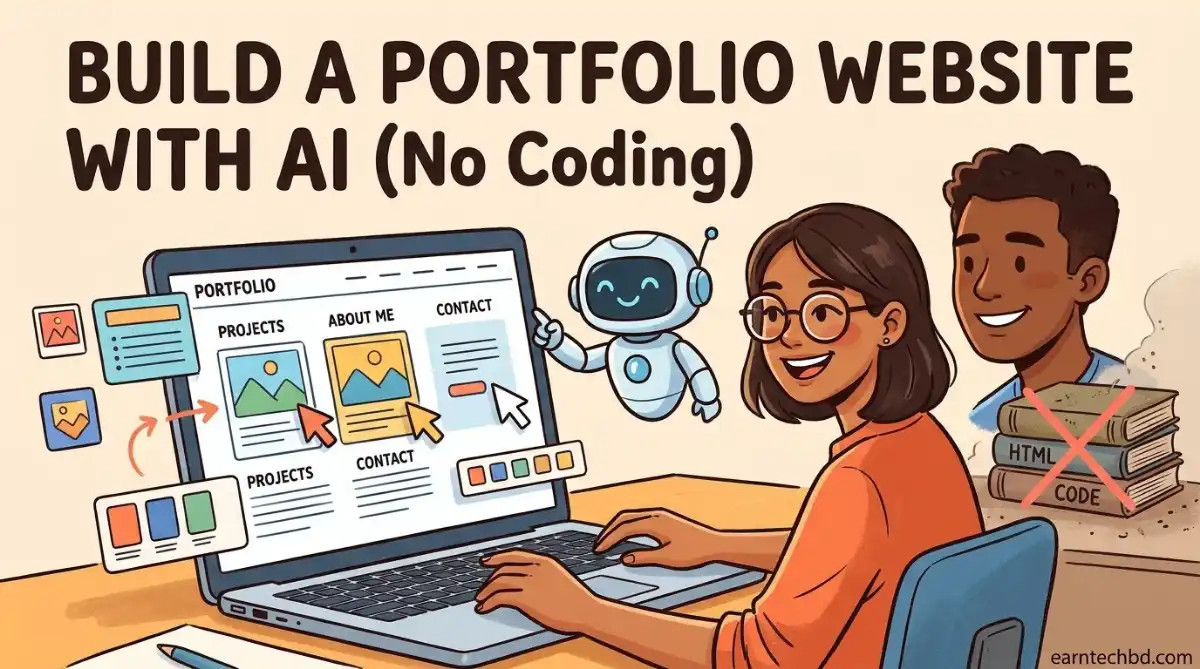
How to Build a Portfolio Website With AI: A Step-by-Step Guide for Non-Coders
Imagine a potential client types your name into Google. What do they find? A messy social media profile, or a clean website showing your work, your experience and a way to contact you? First impressions are often settled in that single minute.
Not long ago, building that website meant hiring a developer. The cost, the time and the back-and-forth made many people keep postponing it. That has changed. AI tools can now connect directly to a WordPress site and set up pages, menus and layouts for you. In this guide I will walk you through the whole process in plain language, including a few safety warnings that many tutorials skip and that can save you from real trouble.

Why You Still Need a Portfolio Website in the Age of AI
Many people ask why they need a separate website when everyone shows their work on social media. In my experience, three reasons still hold up.
1. It builds client trust
Saying "I'm a graphic designer" is one thing. Showing organized samples on your own domain is another. A custom domain and a professional email address (such as hello@yourdomain.com) tell clients you take your work seriously.
2. You don't control social media
Algorithms change, reach drops, and accounts sometimes run into problems. A website is your own space. You decide what goes on it and how it looks.
3. People can find you on Google
A client searching for "video editor in Dhaka" or "WordPress developer Bangladesh" can only find you if you have an indexed website.
What You Need Before You Start
The preparation is short. Sort out these three things first.
- Domain and hosting: If your site isn't live, it is hard to let an AI tool work on it. Any reliable hosting company will do. Before buying, check the renewal price, not just the first-year offer.
- WordPress version: Tools like Novamira require WordPress 6.9 or later, so check your version first.
- An AI tool: Claude, ChatGPT or any other MCP-compatible tool will work. You can start with a free plan, but on large, complex jobs a paid model usually gives noticeably better output.

Step 1: Install WordPress and Clean Up the Site
Most hosting control panels let you install WordPress in one click from a "Create Website" option. The email and password you enter during installation become your admin login, so store them somewhere safe.
Once WordPress is installed, look at the default plugins and themes and delete the ones you don't need. Unused plugins slow a site down and add security risk. Remember that WordPress makes you deactivate a plugin before you can delete it. A caching plugin such as LiteSpeed Cache, which often comes with the hosting, is worth keeping for speed.
One small tip: a new domain can take a while to go live because of DNS propagation. Until then, keep working on the temporary link your host provides. When the domain becomes active, the same work will appear on your main address.
Step 2: Install the Essential Plugins and a Theme
A portfolio doesn't need a long list of plugins. These few cover almost everything I need:
| Plugin / Theme | What it does |
|---|---|
| Elementor | Drag-and-drop page design, so you can edit the site yourself later |
| Ultimate Addons for Elementor | Lets you customize the header and footer |
| Contact Form 7 | Contact form |
| WP Mail SMTP | Helps form emails reach the inbox instead of spam |
| Astra (theme) | A light, fast base theme |
The difference between a theme and a plugin
Put simply, a plugin adds features to your site (like a contact form), while a theme changes how it looks. Switching themes doesn't remove your features; it only changes the design. Install Astra and delete the other unused themes.
Step 3: Connect AI to Your WordPress Site
This is the key step. In a normal chat, AI can only answer questions. To work directly on your site, it needs a connection.
What is MCP?
MCP (Model Context Protocol) is an open standard that lets AI tools talk to outside software. For WordPress, a free, open-source plugin called Novamira turns your site into an MCP server.
How to install and enable Novamira
- Novamira is not in the WordPress.org plugin directory, so searching in Plugins > Add Plugin won't find it. Download the ZIP file from novamira.ai or its GitHub page.
- Upload the ZIP through Plugins > Add Plugin > Upload Plugin, then activate it.
- Open the plugin's Configuration page, switch on "AI Abilities" and save. It is off by default.
- Choose the AI tool you use (Claude, ChatGPT and so on). The plugin shows an MCP link. Add that link in your AI tool's custom connector settings and approve the permissions.
Test the connection before giving big tasks
Before any large job, run a small test. For example, say: "Change my site title to my name and add a tagline." Then check Settings > General to confirm it changed. This one-minute test can save a lot of trouble later.
What you must know about security
Many tutorials leave this part out, but it matters. Novamira gives AI deep access: it can run PHP and modify the database and files. Its makers say it is built for development or staging environments with backups. So:
- Take a full backup of your site before you begin.
- Try it on a new or staging site first. Don't experiment directly on a site that already has clients or traffic.
- When the work is finished, switch off AI Abilities or deactivate the plugin if you no longer need it.
- Review what the AI changed with your own eyes.

Step 4: Choose a Design Reference
If you just tell AI to "build a beautiful website," the result is usually generic. A reference image makes the output far more targeted. For ideas, browse Pinterest, Dribbble or the ThemeForest previews. Search "portfolio website," pick a layout you like and save a screenshot.
Keep in mind that copying someone else's design exactly is not okay. Use the reference as inspiration, and give your site its own colors, fonts and content.
Step 5: How to Write the Prompt
A good prompt usually has five parts: your site address, the reference design, the pages you want, the tool to build with, and what not to do. Here is a sample you can adapt.
My site URL is [your domain]. I am a [your profession]. Using the attached reference design and my photos, build the site. Create Home, About, Services, Projects and Contact pages, make a menu, and set the home page. Build the pages with native Elementor widgets and containers, not HTML widgets. Save the header and footer as separate templates so I can edit them later. Use Contact Form 7 for the contact form.
A few techniques that improve the result
- Ask for native widgets: If everything is stuffed into HTML blocks, editing with Elementor later becomes hard.
- Keep Elementor's Atomic Editor off: With the newer Atomic Editor enabled, AI tools sometimes create a different kind of element, which can complicate later editing. Tell the prompt not to use it.
- Provide your real facts: Give your own years of experience, client numbers and awards. If AI invents figures, wrong information can end up on your site.
- Break big tasks into steps: Asking for the structure first, then the home page, then the remaining pages usually produces fewer mistakes than one giant prompt.
On a paid model, a full site can take anywhere from a few minutes to an hour or more. Let it finish rather than interrupting it again and again.
Step 6: Review and Fix the AI-Built Site
Don't expect perfection on the first try. A section's text may land on the wrong side, or an image may be cropped badly. There are two ways to fix this.
- Fix it yourself in Elementor. This is the quickest route for small changes.
- Send AI a screenshot. Capture the problem area and write, for example, "this text should be on the right." AI understands much better with a visual reference.
Then check every page on both mobile and desktop. Most visitors in Bangladesh browse on phones, so get the mobile view right first.

A Hypothetical Example: A Freelance Video Editor's Portfolio
(The example below is an invented scenario to illustrate the process. It is not a real person's story.)
Suppose a video editor named Rahim works with YouTube and Facebook clients. Every time a new client appears, he digs through his inbox for work links to send. He decides to build a portfolio over a weekend.
- Saturday morning: Set up the domain and hosting, install WordPress and add the plugins.
- Saturday midday: Choose a design reference and gather his bio, service list and links to his five best videos.
- Saturday afternoon: Take a backup, give the AI the prompt, then ask for small corrections after reviewing the output.
- Sunday: Fix the mobile view, write ALT text for every image and submit the site to Google Search Console.
The lesson here is that AI doesn't do the whole job. It produces a draft, while you still verify the content, pick the best work samples and check the final quality. When it is well organized, a site like this makes a good impression every time you send the link to a client.
Technical and On-Page SEO for a Portfolio Site
The job isn't finished once the site is built. To be found on Google, get these points right.
1. A unique title and meta description for every page
Put your name and profession in the home page title, for example "Rahim Ahmed | Video Editor, Dhaka". Use Yoast SEO or Rank Math to give every page its own meta description.
2. Image ALT text and file size
The images AI inserts often have empty or generic ALT text. Give each image a descriptive ALT text. Compress large images and upload them as WebP so the site loads faster.
3. Speed and Core Web Vitals
If a page loads slowly, visitors leave. Keep your caching plugin on, delete unnecessary plugins and check your mobile score in PageSpeed Insights.
4. Structure and internal links
Use one H1 per page, followed by H2 and H3 in order. Link from your project pages to your services page, and from your services page to your contact page.
5. Submit to Search Console
Add your site to Google Search Console and submit your sitemap. This helps Google index your pages sooner.
Mistakes Beginners Often Make
- Starting without a backup: If something breaks, there is no way back.
- Leaving in fake or exaggerated details: AI sometimes confidently writes things you never told it. Read every line before publishing.
- Using images without a proper license: Take images from free-license sources such as Unsplash, Pexels or Pixabay, and read their license terms once.
- Skipping the mobile view: A layout that looks great on desktop can break on a phone.
- Leaving Novamira on all the time: Once the work is done, it is safer to turn the access off.
A Final Checklist
- A backup exists
- All facts (experience, numbers, links) are correct
- A test message from the contact form actually reaches your inbox
- Mobile and desktop views both look right
- Meta titles, descriptions and ALT text are in place
- The sitemap is submitted in Search Console
Final Thoughts
AI has made building a portfolio website far easier than it used to be. But the best results come when you also understand the basics: how WordPress works, how to make small edits in Elementor, and which facts are true and which are exaggerated. AI is your assistant; the decisions are still yours.
So don't wait. Start today. Your first version doesn't have to be perfect. A simple portfolio that is live beats a perfect one that doesn't exist.
Frequently Asked Questions
What's Your Reaction?
 Like
0
 Dislike
0
 Love
0
 Funny
0
 Wow
0
 Sad
0
 Angry
0
















Comments (0)